Five jobs every team needs
These are team functions, not a claim about an official named-position roster. Use them to check whether your shape leaves a job unattended.
| Team job | What it contributes | Common mistake |
|---|---|---|
| Goalkeeping | Reacts to shots, crosses, cutbacks and close-range chances | Pulling the last defender forward and leaving a free finish |
| Defensive coverage | Tackles, interceptions, blocks and clearances | Chasing the ball carrier until the middle opens |
| Passing outlet | Receives under pressure and moves the ball with short or through passes | Hiding behind opponents so teammates have no safe pass |
| Width / stretch | Gives the attack space and creates lob/cross options | Everyone collapsing into the same central lane |
| Finishing | Turns created chances into shots and goals | Shooting early from poor angles instead of keeping the attack alive |
A character may perform more than one job, but a team still needs the full set. A flashy finisher does not replace goalkeeping or a reliable outlet.
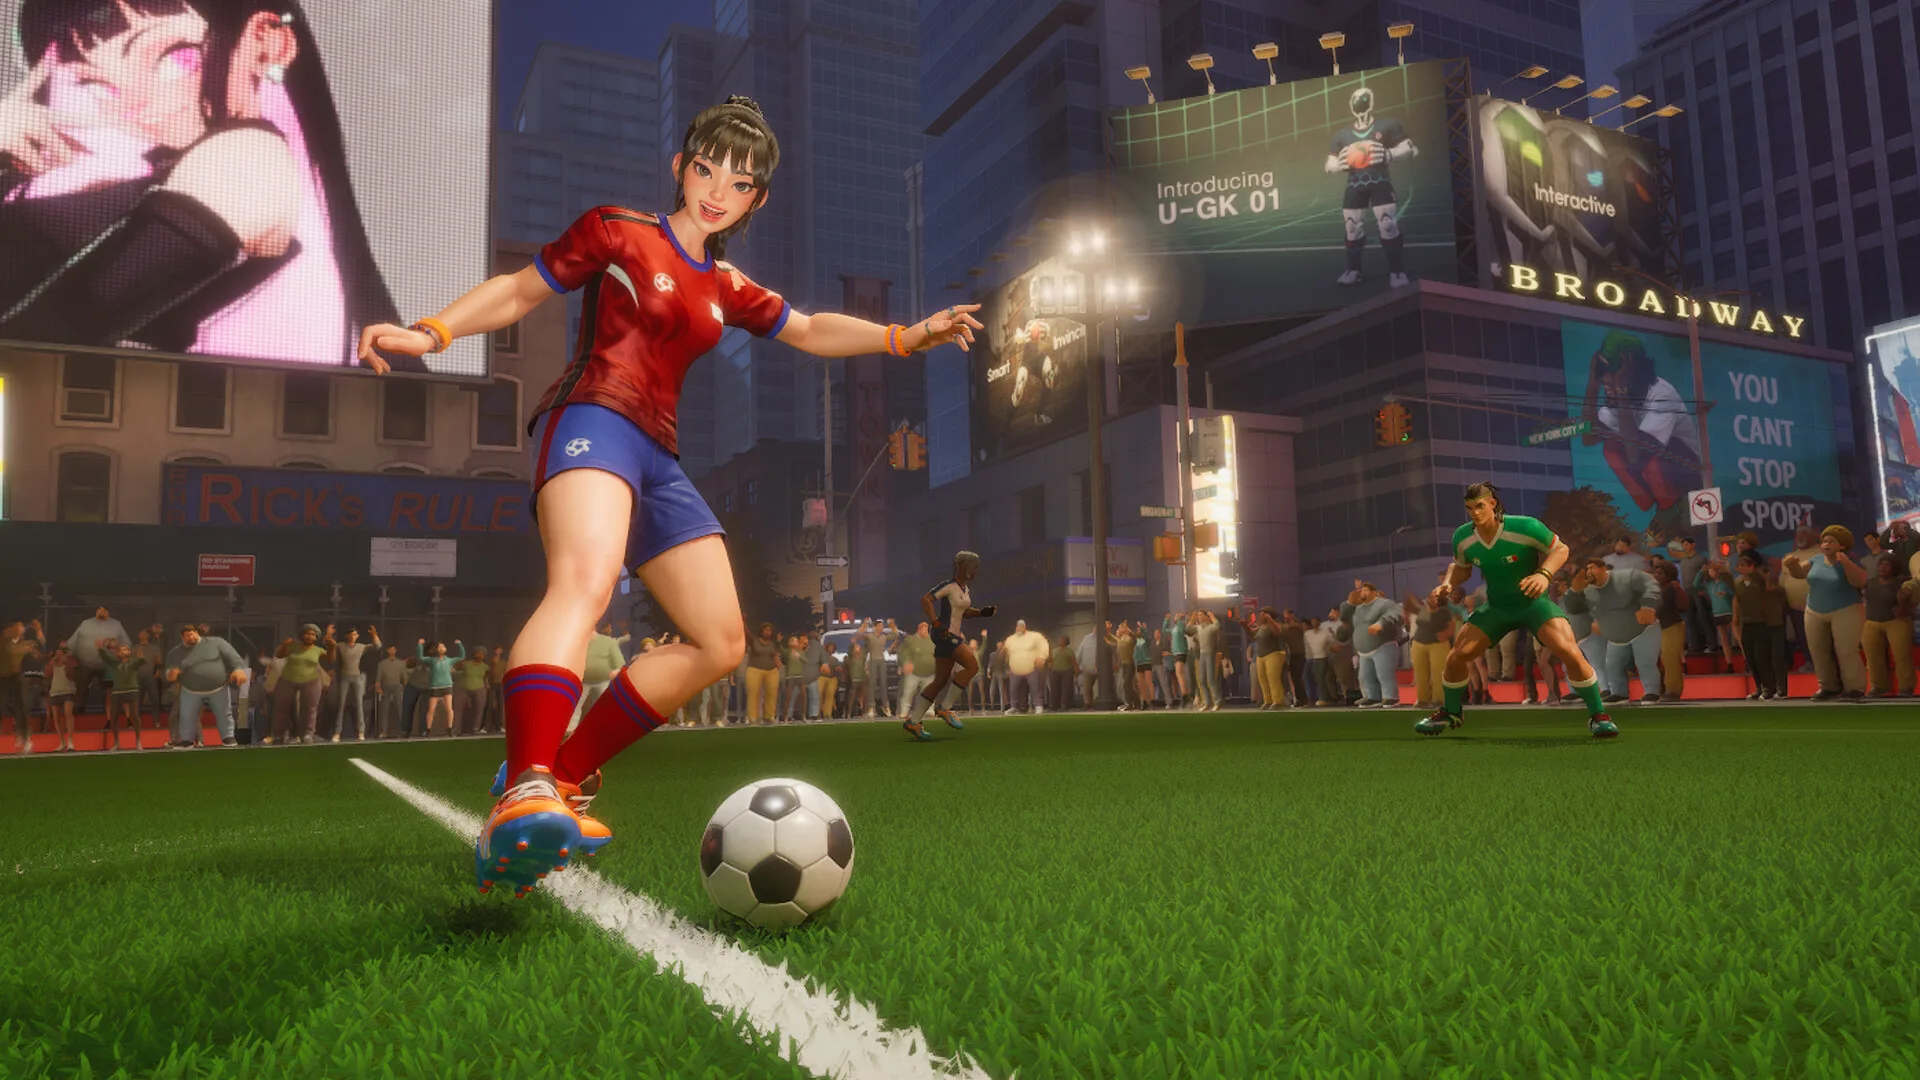
A balanced beginner shape
Start with the principle defend → outlet → stretch → finish, protected by goalkeeping and defensive coverage.
When your team has the ball:
- The defensive player looks for a safe outlet instead of forcing a dribble through pressure.
- The outlet moves into a receivable position and chooses between a short pass and a through pass.
- A teammate preserves width so the defense cannot defend one narrow lane.
- The finisher attacks the created chance rather than asking for the ball in a poor shooting position.
When your team loses the ball:
- Recover defensive shape before trying to win it back immediately.
- Protect the central shooting lane and goalkeeper first.
- Use tackles and interceptions when they are available, rather than pulling everyone into the same challenge.
- Once possession is recovered, move an outlet forward for the counter.
Two formation approaches in the official description
Aggressive pressure
Press higher, challenge earlier and try to turn recoveries into immediate chances. This works best when the rest of the team moves together; pressing alone simply opens a passing lane behind you.
Compact defense and counterattack
Sit back, protect the middle and break forward after a win. This is not passive surrender: the outlet and wide player still need to be ready as soon as possession changes.
The official store explicitly presents both approaches as valid. Switch between them based on the score, clock and your opponent rather than treating one shape as permanently correct.
Character skill is not a position ranking
Characters have distinctive skills and styles, but a position describes a responsibility, not an official power tier. The same responsibility may be handled differently by two characters.
During early matches, judge a character by practical questions:
- Does it help receive or distribute under pressure?
- Does it create or stop a clear chance?
- Does its skill fit the job your team is missing?
- Can you use it reliably with the confirmed controls?
Do not copy a CBT/demo tier list into the launch meta. Character balance and inputs can change between tests and release.
Five mistakes that break a 5v5 team
- Everyone chases the ball. There is no outlet and no recovery shape.
- No one protects the goalkeeper. A single successful pass becomes a free shot.
- Everyone plays centrally. The defense can stay compact without moving.
- Every possession ends in a forced shot. Sometimes the right play is to recycle the ball.
- A test-tier list chooses your role. Launch performance and your own reliable inputs matter more.